Thursday, August 21, 2014

My *Tool* Box


I have a few things that I take with me in the house...if I am upstairs....it goes with me. If I am downstairs...it goes with me. Inside I keep things I use throughout the day....such as:

~ My Filofax Planner
~ Our Family Devotions/Catechism book 
~ Pens/Stickers
~ My Bible
~ Books I am currently reading
~ My weekly menu planner
~ Lotion

Previously, I carried all these things in a market tote like THIS one. That worked just fine but wasn't "ideal". Things weren't neatly separated and were just *in* there. It was okay...but when I saw this Neatnix Toolbox on sale at Zulily, I was super excited (it's a bit on the pricey side at amazon...but if you are interested, you may find it cheaper on ebay....or Zulily may still have some for sale!)! 


It is sturdy and easy to carry by the handle! I just love all the space it has!


There are all kinds of organizational pockets on the front...


...With two larger pockets on the back...


There are even pockets on the sides that (to my delight) fit my lotion perfectly!


How do you organize things you use constantly throughout the day? I used to keep things in different baskets over the years...but the weight of the items would wear on the basket over time and damage it. I am so glad to have found something that is perfect for the use I am giving it! 

Wednesday, August 13, 2014

Daily Tasks

Did you know that doing a few tasks daily will keep your spirits high, your home looking tidier and actually motivate you to do *more*? It's true! 


A few things to do *every* day...

* Clear and wipe down kitchen counters.
* Clear and wipe down bathroom counter.
* Make your bed. 
* Wash/Dry, Fold/Put away at least *one* load of laundry.
* Sweep floors (this is necessary for us to do daily...but may not be for you!)


You don't have to have the newest and fanciest counters. You don't have to have the nicest or fanciest house. Keep what you have...no matter what the age/style of your home (even if it is not to your liking)...tidy and clean and you can enjoy your surroundings!

If you do nothing else...at least make your bed in the morning. That is *the* way to start the day off correctly! I am always up before my husband in the mornings...so after he has left for work, I go back upstairs and make the bed. I've tried to make it with him in it..but that doesn't work out so well! ;)


When you keep the counters of the kitchen and bathroom clear and wiped up, they just look nicer...plus when they look neat, you won't want stray dishes or spills on them to make them look dirty...this motivates you to keep them looking nice throughout the day. And hey, while you are wiping down that bathroom counter, maybe you want to refill the soap dispenser? Maybe you could give the toilet a swish as well?

I'm telling you...these few simple chores, done daily, can really help you in your home-keeping duties! Adding in a few extra chores from time to time such as dusting, washing windows/mirrors, washing bed linens, scrubbing down toilets and bathtubs etc....and you will find that keeping the home doesn't have to be so overwhelming!
Keeping up with things is *key*!

a-wise-woman-builds-her-home

Tuesday, August 12, 2014

Memory Totes


When I saw these "Keepsake Boxes" I thought they would be a GREAT idea for my children's memory items as well. I decided to put one together for each of them. I don't have a Cricut cutter machine...so I just used my label maker to put names on the bins. I typically color-code things for my children though anyway (Madelyn gets a purple or pink typically, Xavier gets green and Jaxson is usually blue)...so just by glancing at it, I know which tote belongs to which child even without a large name tag.

I also paid for some hanging file folders. I already had some of the not-so-beautiful green ones (pictured above) and put those to use too...buying the totes and the file folders wasn't all-together cheap when you need three....so I reuse what I have on hand. :)


Because we home school (and are not involved in a bunch of different sports etc.) our sections are different than those of Toni's from A Bowl Full of Lemons. I am not finished with the sections we will use...but what I have so far is:

~ Photos (from our homeschool co-op pictures etc.)
~ Medical (forms and things needed for proof to the school)
~ Home School Completed Portfolio Verification (papers from the school's superintendant saying our portfolios are complete from each year of schooling)
~ Testing (standardized test results)
~ Grade School (drawings/worksheets from through the years...this may need to be changed over time to allow more room for papers...we'll see!)


 I also bought one extra tote for my filing records. I had them in a filing cabinet that was not in the best condition. Now they are safe and secure in one of these totes and give me easy access to my records (A few of the papers need tucked in there better!)...


Stored ~ Safe and sound in the school room...


How do you store your children's records/memories?

Tuesday, August 5, 2014

Organizing Legos


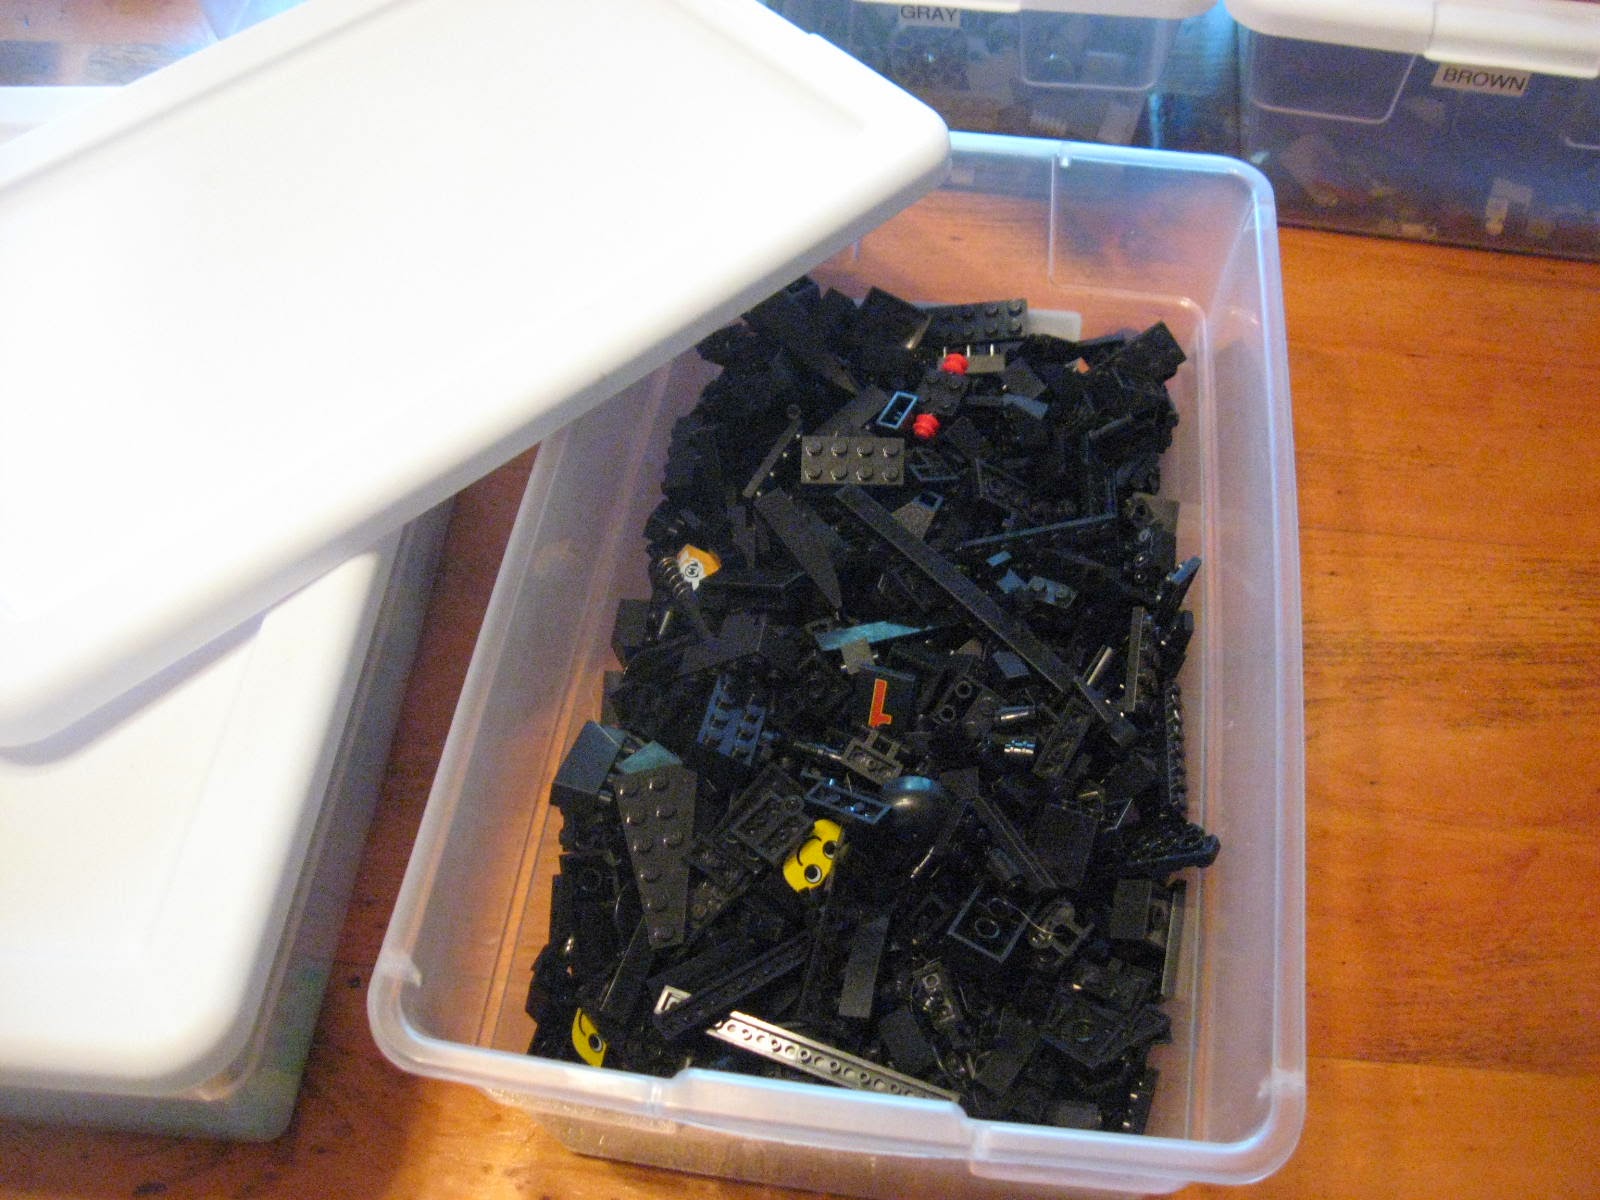
My daughter and I (mostly her though) went through and sorted all the Legos. I bought inexpensive shoe bins at the dollar store and labeled them with my label maker. 


 We are hoping that will take boxes that look like this...


...and turn them into this (thus making it easier to find the pieces they want)...


In the box marked "extra" we put min-figs, swords, horses, bow/arrows and other miscellaneous items that go along with the Legos!


 With grade-school boys, I'm not sure how this will work for us...but it is worth giving it a try! They both seem to like this new system (but we'll see if it lasts as time wears on). Personally, I love seeing the colors separated and *in their place*...but if it doesn't work out over time, we can find good uses for the plastic shoe boxes and the Legos can all go back into one bin! :)

Do your children play with Legos? I think they are such a *great* learning/playing toy. Imaginations soar, minds work to think and build...Legos are truly one of the best investments (toy-wise) in my opinion. How do you store/organize your Legos? 


Wednesday, July 30, 2014

Homeschool *or* Office Supply Organization


I want to start this post by saying that whether I used a flash or not with my camera, the boxes do not seem to be very photogenic. They look much better in real life...you'll just have to trust me on that! ;) Also, a few of my labels aren't straight...I have fixed and re-fixed them and sometimes, you just have to leave it be!

Last year, we used these bins to separate all of my children's school workbooks. This year, since we are mostly using Easy Peasy, we will only have math workbooks to keep organized. I couldn't let good storage space go to waste...so I utilized the drawers to store my multitude of supplies. Now, notebooks, paper, dividers, folders, reference charts, page protectors and more have their own drawer!


Anytime someone needs a new folder or blank notebook...they know just where to get them!


Extra supplies (purchased from Staples during their school clearance!)...


The children's workbooks fit perfectly in each drawer!


These drawers can be pricey...but not too bad if you watch for them to go on sale. You can find something similar to the one I have HERE. You can find the exact ones I have HERE.

We have found these drawers to be a great organizing tool to keep in our schoolroom. They would work really well in an office setting too! And again, they look much better in real life than in the photos! The pictures seem to show every flaw!

***You may notice in the first photo, a pair of shoes just inside the door...right now, we have four extra kiddos visiting at our house. I didn't move the shoes...I like just keeping it real! ;)


Monday, July 28, 2014

Simple Jar Decorating


I had posted about the many ways to use glass jars in your home to decorate, organize and add a touch of charm to a room. You can find that post HERE.

For my daughter's birthday, we used jars as table centerpieces and my sister made these simple, eyelet decor to put around the top of a jar! I love eyelets and the look it gives the jars!


She simply measured around the top of a jar and cut the eyelet accordingly. Then, she sewed snaps to the ends so they can easily be removed!


Adding a touch of charm to your home doesn't have to take a lot of money or talent (although my sister *is* talented...but sewing the snaps on is something anyone could do!). You could do this for your own home...or make some jars as gifts. You can fill the jars with jar cookie mixes, a favorite candy, or anything else that is fun! Add a touch of eyelet, lace or scraps of fabric around the top and that could make a super-cute gift for a friend! :)

Thursday, July 24, 2014

The Difference a Hanger Can Make!


Let me start off by saying I am *not* a fan of animal print. I never have been. If you like it, that is totally okay! I am just not wild about it for myself or my household. That being said, I am sure you noticed that the hangers in the photo above are an animal print! Let me explain why! 

I had been wanting to get matching hangers to hang our clothes. I wanted decent ones that didn't slip (doesn't it just drive you crazy when you are looking through your clothes and a shirt slides right off the hanger when you don't want it to?). I also did *not* want to spend a fortune.

 So, I had found gotten an email that tells me deals/sales from around the web. One was for these hangers. For the 60 pc. set, I could get it for $10 off (for a total of only $17.99) and free shipping! I thought that was a great price. Then, I looked at the 120 pc. set and it was not on sale...but was only $27.99 and free shipping! If I would have bought 2 sets of the 60 pc. with the sale price, I would have been paying over $34...When I could get the 120 pc. set that *wasn't* on sale for cheaper! 

Unfortunately, they only had animal print hangers for sale. I decided to get them anyway. These fit the budget and although not my style, they do look so nice when they all match.
 You can find them HERE


We had a mish-mash of hangers before...(which we still have with some of Chris's clothes as I don't have enough of the velvet/non-slip hangers for all our clothes yet) and even though things were hung up neatly...it just looked messy with some metal hangers, some plastic etc.


It is really amazing the difference hangers can make! 


Monday, July 21, 2014

Cleaning the Bathtub


Cleaning the bathtub is a dreaded but necessary chore. In our home, with 5 people bathing constantly (and two of those being boys that are dirt-magnets) the tub can get dirty...fast! We have an older, claw foot tub. It does not do well with bleaches or harsh chemicals (plus, who wants to use that stuff anyway?). 


I am going to share with you what *I* use to clean my tub. These ingredients (plus a lot of elbow grease) help to keep my tub sparkling (well, as close as we can get. With this being an older tub, it still holds onto some of it's stains from years past).


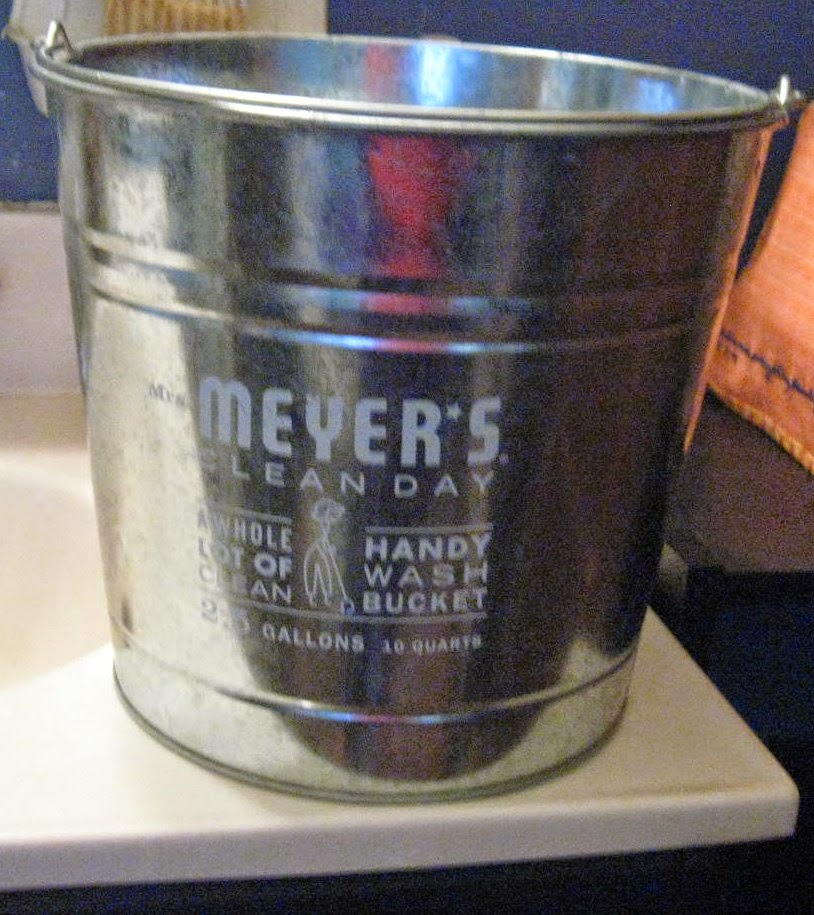
 I fill my hand-dandy Mrs. Meyer's Bucket (which has been well-used) with warm water and some Mrs. Meyer's Basil All Purpose Cleaner and swish it around until I have great-smelling, sudsy, warm water! (I put the bucket right in the tub while I am scrubbing!) I sprinkle some borax and baking soda (which I keep in an old parmesan cheese container...notice it needs refilled...) onto the surface of the tub. Then...using my scrubby sponge and a lot of muscle...I scrub and scrub until clean.


I didn't really think about making a post about this until *after* the fact...so unfortunately, I don't have any before photos. But this is basically, as nice as this tub gets (a good cleaning on a newer tub could end up perfectly, sparkling white!)...


If you have a cast iron claw foot tub, as I do, you may also find it helpful (for those stains that just won't go away no matter how hard you scrub) to make a paste of hydrogen peroxide and baking soda. Sprinkle the baking soda on the stain(s). Then add just enough hydrogen peroxide to make a paste. Let it sit a while...when you come back to it...scrub and rinse! It should help that tub to sparkle! :)

I would love to hear any *bathtub* cleaning tips *you* may have to share!!! :)

Sunday, July 20, 2014

Dollar Store Organization


Organization does *not* have to be expensive! If you go to DIY & Crafts, you can find a compilation of 150 Dollar Store Organizing Ideas! They have done all the searching for you, to find some of the greatest, inexpensive (and useful) organizing ideas for your entire home! When I found this site, I knew I just had to share it! :) Let me know if you put any of these ideas to use!!!
Tuesday, July 15, 2014

Back to (Home) School


I was so excited while at the thrift store one day, to find the fantastic binders from Staples there! They are my favorites but are much too expensive to ever buy them. I got each of these for under $1 (and they each had extra paper, dividers, page protectors and such in them)! What a steal! Obviously, they aren't brand new, but they will work terrifically for us!

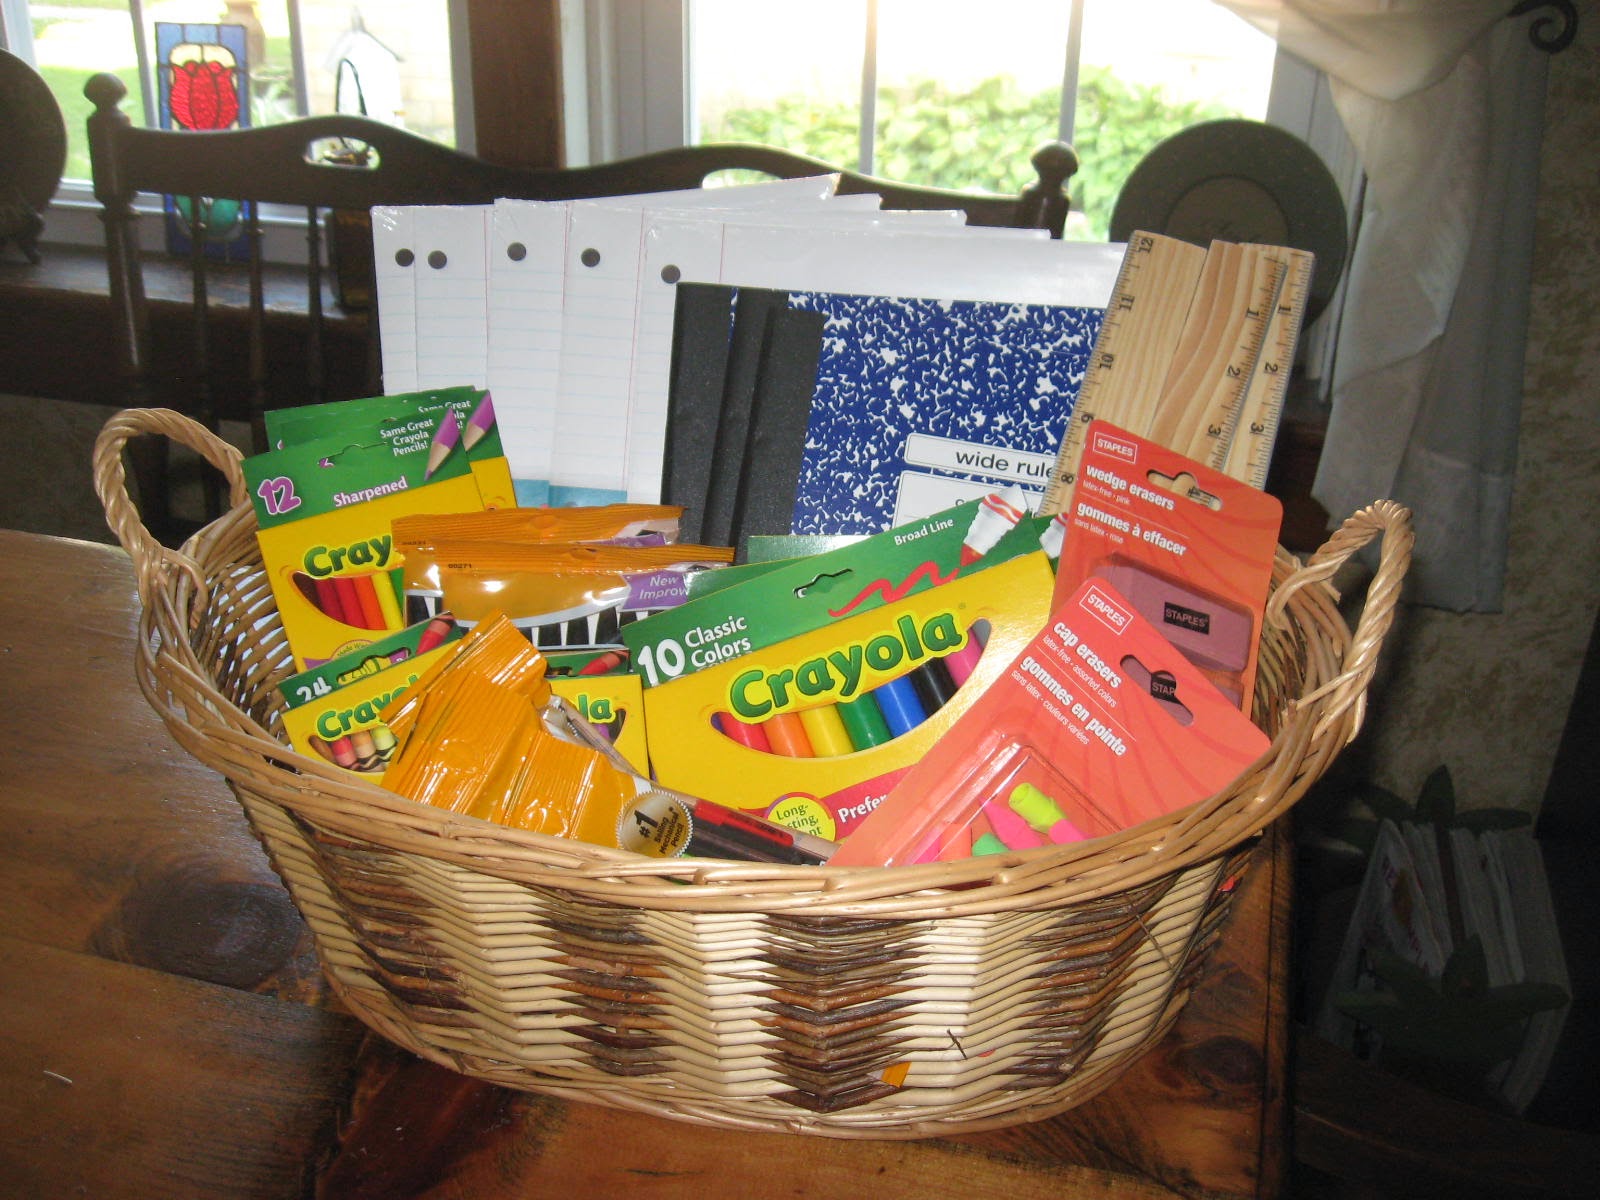
Also, Staples has their *Back to School* savings (at their stores and online). I picked up some supplies for our homeschooling for some really great, inexpensive prices! I have to admit...I am an office/school supply junkie!!!


I love to have a bin for things....everything in its place...


Homeschooling does *not* have to be expensive. Keep your eyes peeled for sales, clearances and at the thrift stores and you can come home with quite a lot (without spending a lot)!

For our curriculum, we will be using Easy Peasy for most of our subjects. It is a free online homeschooling course for all ages. We are using Christian Light Education for our math, though, because we have been using it for years and I really like how it teaches things, reviews and builds on each other.

How are you saving money this year on back to (home) school needs?

Thursday, July 10, 2014

How To Get Rid of Ants

Ants...they are fascinating creatures that God has made but oh, what a pain they can be in a homemaker's home....especially when you find them in the kitchen! I have a sure-fire way to get rid of those pesky creatures (and get to the root of the problem as well). You don't need to go spend a ton of money on chemicals! All you need is a little honey and borax!

Place a spoonful of honey on a piece of cardboard. Take a spoonful of borax powder and mix it (well) into the honey. Place the card where the ants are (away from children and pets though). Once one or two find it, after a while, you will have a circle of ants surrounding the blob of mixture. Don't bother them....leave them be. Over time, they will take the mix back to their home and spread it around...it will kill the whole colony...or it will kill enough that the queen ant will sense danger and move the whole colony!

Voila! Your ant problems are solved!! :) I hope this helps!

Thursday, July 3, 2014

Using Glass Jars in Your Home

 Not only can you use mason jars to can your garden harvest, but you can make great use of them throughout your home! Using glass jars in your home is a frugal, great-looking way to decorate and organize! I love using different sizes of jars in my home for many different things! 


Here are a few of the ways I use glass jars throughout my home...

Storing knitting needles...


For flowers (that I am lacking at the moment)...


For decoration...


Salt and pepper shakers...


Pen and pencil caddy (I *love* blue jars!)...


In the bathroom to hold potpourri, q-tips, cotton balls, and cough drops...


As a soap dispenser...


In the kitchen, using small jars is a great way to decorate a less-than-desirable oven hood...


Large jars are great for keeping bulk items...


Jars to drink from...


Around the house, jars can make great bases for lamps...


If you go HERE you can find 50 Great Uses for Mason Jars and if you go HERE you can find 31 more great uses for them!

What are some ways *you* make use of jars around your home?